Contacts
Your contacts are the people who can receive incidents. You can manage them manually, import them from a CSV file, or keep them in sync automatically by connecting an HR system.
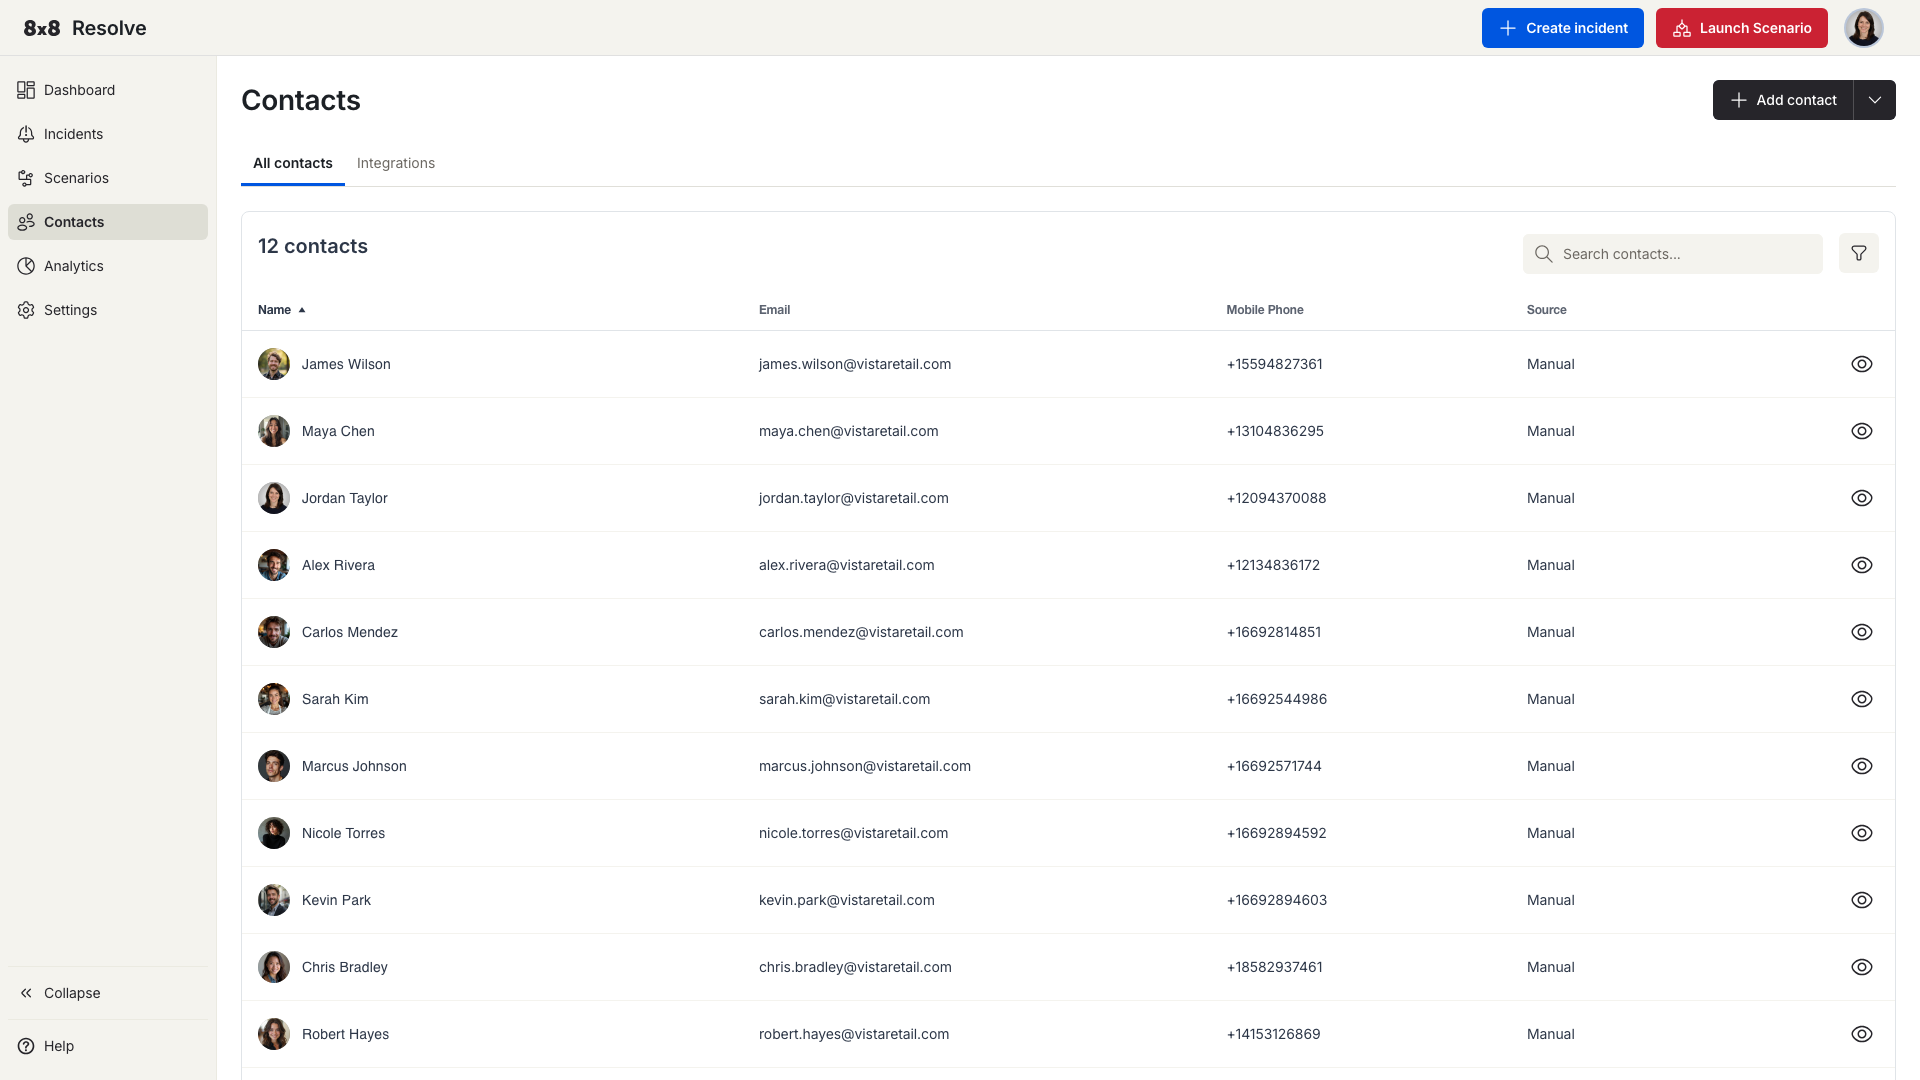
View your contacts
Navigate to Contacts from the left menu. The All Contacts tab opens by default and shows your full contact list; the Integrations tab is where you connect an HR system.
| Column | Description |
|---|---|
| Name | The contact's full name. |
| Their email address. | |
| Mobile Phone | Their mobile number. Shows "–" if not set. |
| Source | Where the contact was imported from (e.g., 8x8 Work, Google Workspace). |
| Actions | Click the eye icon to view full contact details. |
The total contact count is shown above the table and updates when you apply filters.
Search and filter
- Search — Enter a name or email address to filter the list as you type.
- Department — Filter by the contact's department.
- Role — Filter by the contact's role.
- Location — Filter by the contact's office or site.
Select your filter values and click Apply. Click Reset to clear all filters and show the full list again.
📘 Tip
You can combine the search field with filters. For example, search for "John" and filter by Department: "Engineering" to find a specific contact quickly.
Add a contact manually
- Click Add Contact.
- Fill in the required fields.
- Click Save. The contact appears in the list immediately.
Upload contacts from a CSV
- Click the dropdown arrow next to Add Contact.
- Select Upload contacts.
- Choose your CSV file and start the upload. A progress bar shows you how the import is going.
View contact details
Click the View (eye) icon on a row — or click anywhere on the contact's row — to open that contact's details page. From there you can review and edit the contact's properties (name, email, phone, department, location, and group).
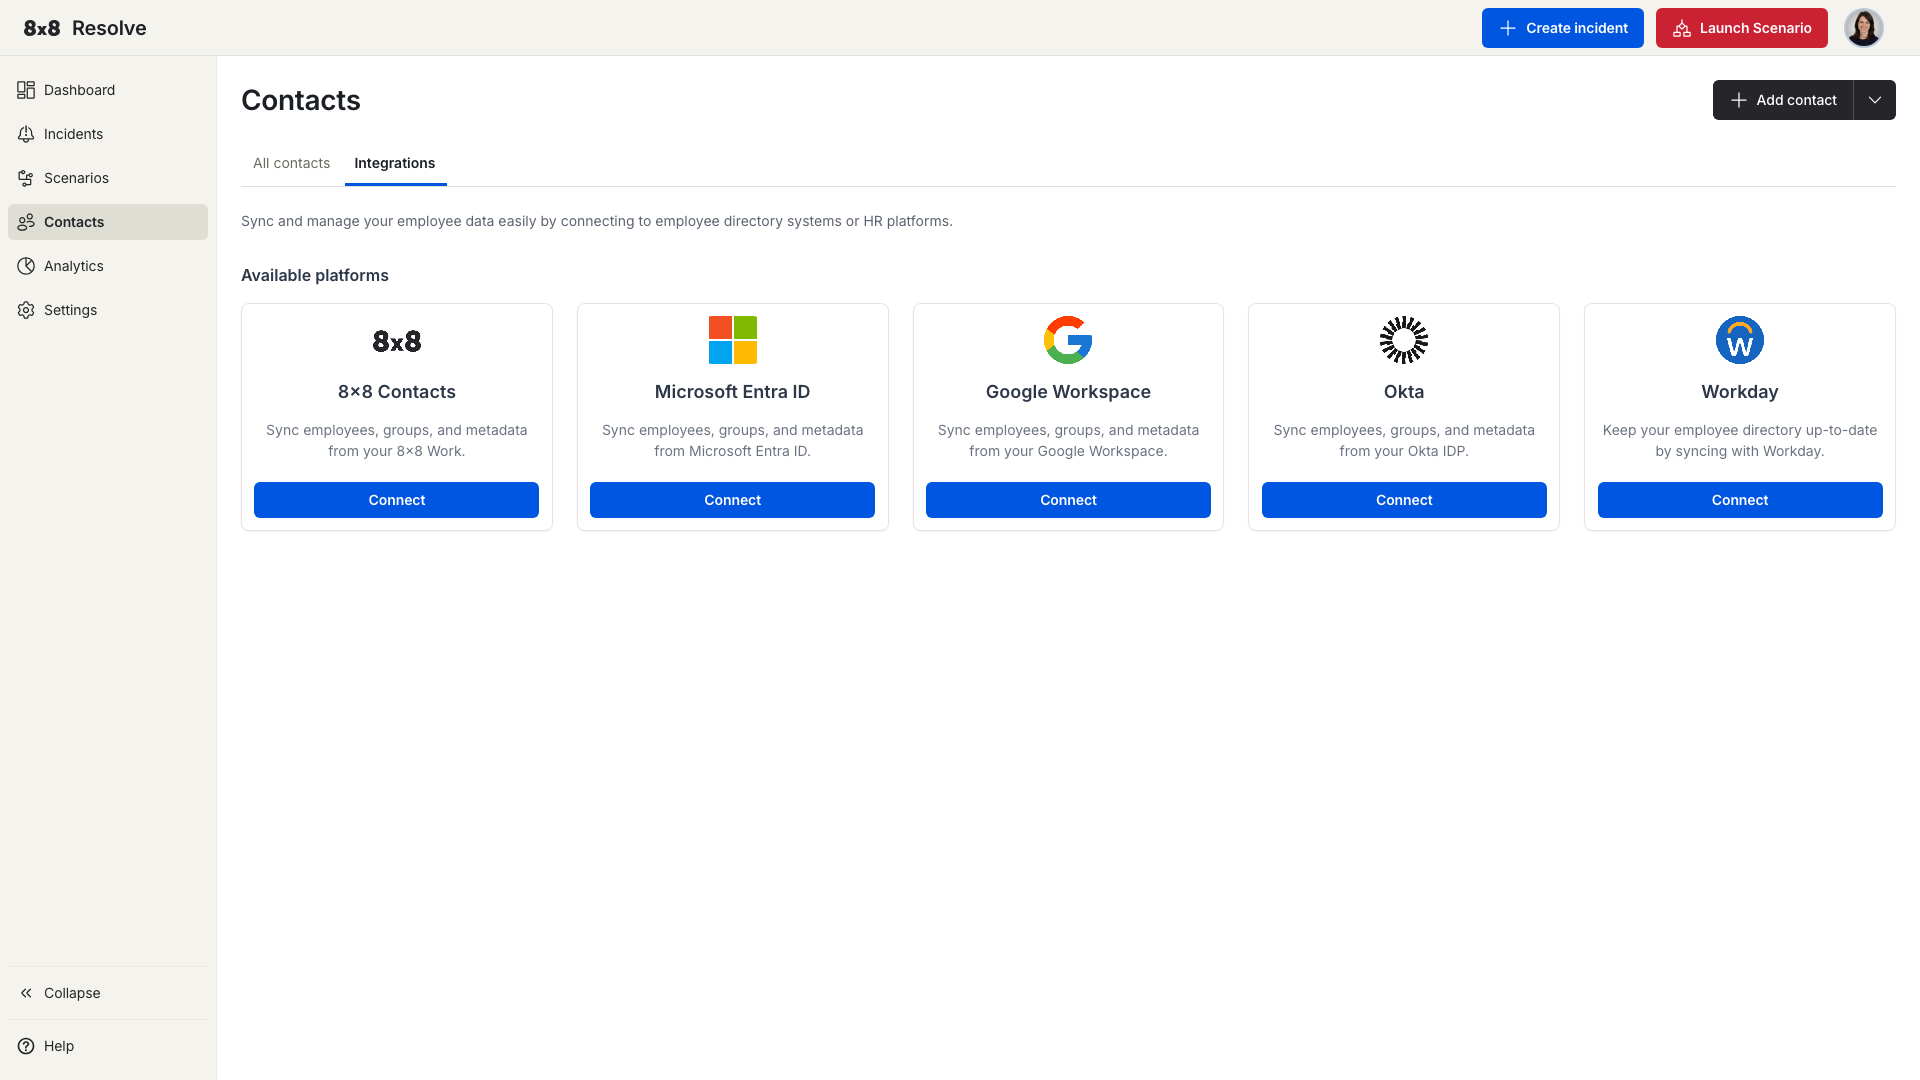
Integrations
Connect your HR system to 8x8 Resolve from the Integrations tab and your contacts stay in sync automatically. When an employee's department, location, or phone number changes in your HR system, Resolve picks it up — so your incident targeting is always accurate.
Each sync maps the contact's Name, Email, Phone, Department, Location, and Group. Connections use secure API authentication (OAuth 2.0), data is isolated per tenant so it's never shared between 8x8 customers, and failed syncs are logged and retried automatically.
Supported sources:
- 8x8 Contacts App — contacts already held in your 8x8 account.
- Microsoft Entra ID (Azure Active Directory)
- Google Workspace
- Okta
- Workday
Connect an integration
- Navigate to Contacts → Integrations tab.
- Find the card for your HR system and click Connect.
- Enter the required credentials for your system (see the sections below).
- Click Test Connection to verify everything is working.
- Click Connect to save. Your integration appears in the connected platforms list.
Once connected, click Manage on the integration card to view sync history or trigger a manual sync.
Target contact groups
Employee groups from your source system (for example, "Engineering Team" or "US-Based Employees") sync across automatically and appear as named groups in the Recipients selector when you create an incident or scenario. There's no manual setup — when someone changes department or location in the source system, the matching group updates automatically, so your targeting stays accurate.
Sync history
Every time Resolve syncs with your HR system, it logs the result here:
| Column | Description |
|---|---|
| Job ID | Unique identifier for the sync run. |
| Status | Whether the job succeeded or failed. |
| Total Contacts | Number of contacts found in the source. |
| Synced | Contacts successfully imported or updated. |
| Started At | When the job began. |
| Finished | When the job completed. |
| Expand (∨ / ∧) | Click to see a per-job breakdown: Added, Updated, and Deleted counts. An Export .csv button downloads the full details of that sync job. |
Click Sync now in the integration panel to trigger an immediate sync outside the daily schedule.
Remove an integration
In the Manage panel, click Remove integration. A confirmation dialog shows how many contacts will be deleted. Confirm to remove the integration and all contacts it imported.
Google Workspace
You'll need:
| Credential | Description |
|---|---|
| Credentials JSON | A JSON credentials file for a Google Service Account with delegated Domain Wide Authority. |
| Email Address | The email address of the workspace admin who created the service account. |
How to set it up:
- Follow Google's Domain Wide Delegation of Authority guide to create a service account. You'll need a Google Workspace administrator to do this.
- Grant the service account the following OAuth scopes:
https://www.googleapis.com/auth/admin.directory.user.readonlyhttps://www.googleapis.com/auth/admin.directory.group.readonlyhttps://www.googleapis.com/auth/admin.directory.orgunit.readonly
- Download the JSON credentials file.
- Paste the JSON and your admin email address into the Resolve integration form.
Microsoft Entra ID
You'll need:
| Credential | Description |
|---|---|
| Tenant ID | The tenant ID of the account that will read your user directory. |
| Client ID | The client ID of your registered application. |
| Client Secret | The client secret of your registered application. |
How to set it up:
-
Register an application in Microsoft Entra ID.
-
Create a client secret under Certificates and Secrets.
-
Grant the following API permissions under your registered app (all Application type):
Permission Type Requirement User.Read.AllApplication Admin approval required Group.Read.AllApplication Admin approval required Directory.Read.AllApplication Admin approval required -
Copy the Tenant ID, Client ID, and Client Secret into the Resolve integration form.
🚧 Client secret expiry
Client secrets expire based on the duration you set when creating them. Update the secret in Resolve before it expires — expired credentials will cause sync jobs to fail.
Okta
You'll need:
| Credential | Description |
|---|---|
| Domain | Your Okta organisation domain — the MY_DOMAIN part of https://MY_DOMAIN.okta.com/. |
| API Token | A personal API token with at least the Read-Only Administrator role. |
How to set it up:
- Follow Okta's guide to create a personal API token.
- Assign the token a Read-Only Administrator role at minimum.
- Enter your domain and API token into the Resolve integration form.
🚧 API token expiry
Depending on your Okta configuration, API tokens may expire. Update the token in Resolve before it expires to avoid sync failures.
Workday
You'll need:
| Credential | Description |
|---|---|
| Report URL | The URL to your Workday RaaS (Report as a Service) report, in JSON format. |
| Username | Username of the account with access to the report. |
| Password | Password of that account. |
How to set it up:
- Create a Custom Report in Workday that outputs employee contact data.
- Get the report URL in JSON format — it will look something like:
https://wd5-impl-services1.workday.com/ccx/service/customreport2/your_org/report_name?format=json - Enter the report URL, username, and password into the Resolve integration form.
Required report format:
Your Workday report must return data in this exact structure. Key names must match exactly — including capitalisation.
{
  "Report_Entry": [
    {
      "Contact_Number": "+1 411 111 1111",
      "Department": "Sales",
      "Email_Address": "johnsmith@email.com",
      "First_Name": "John",
      "Job_Title": "Product Manager",
      "Last_Name": "Smith"
    }
  ]
}
Integration security
📘 Recommended: use a dedicated read-only account
For each integration, we recommend creating a dedicated service account with read-only access. This limits the blast radius if credentials are ever compromised.
All credentials you enter are stored encrypted. Sensitive values are never returned in plain text — even users with admin access cannot view them after they've been saved.